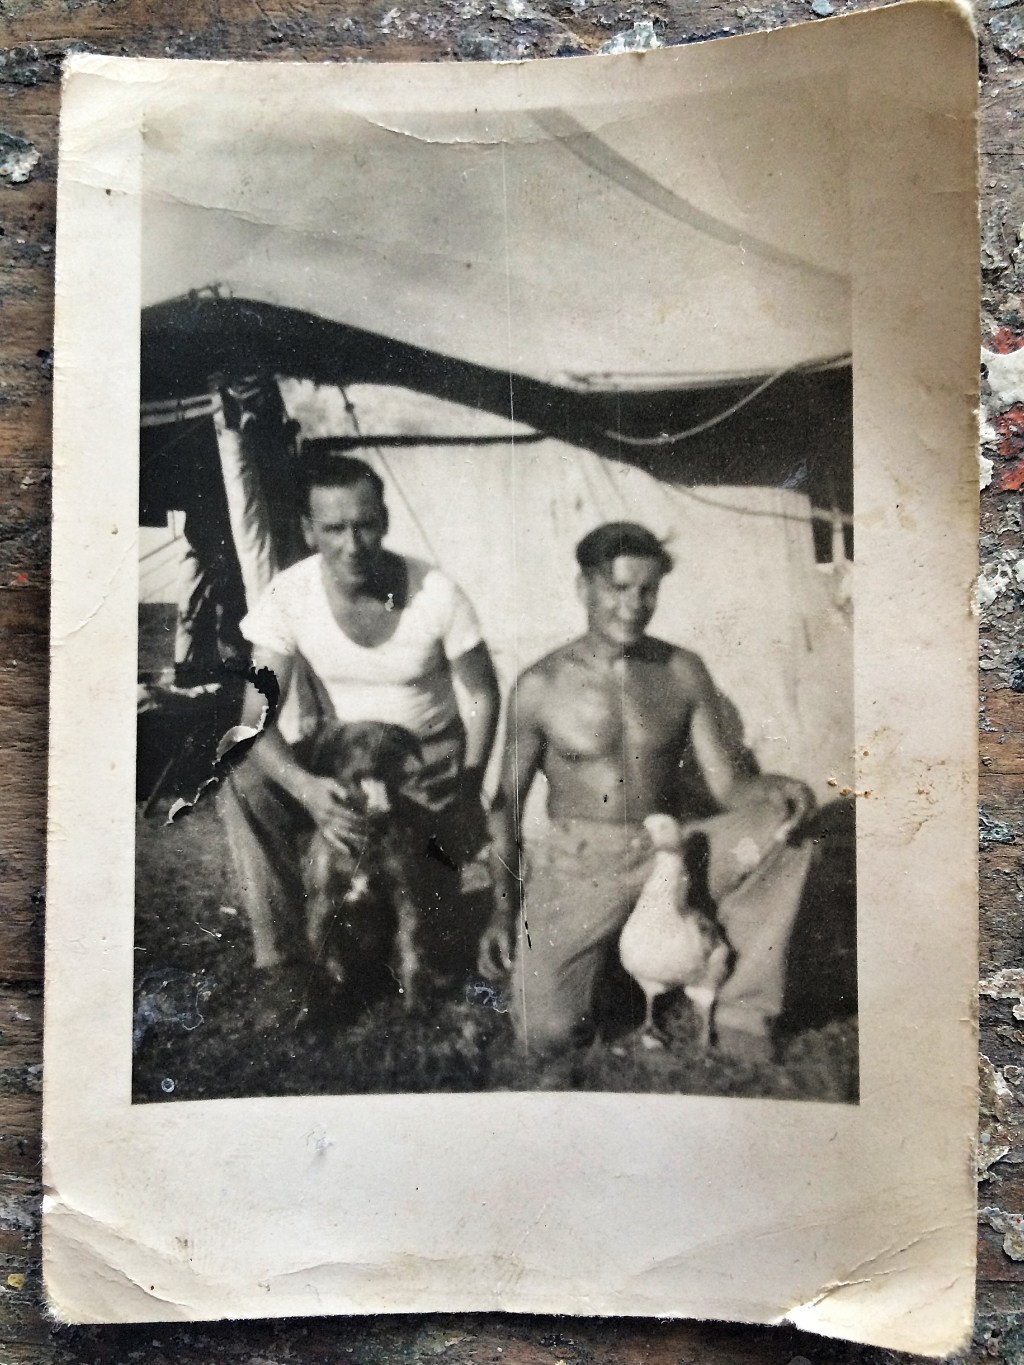
Pug's Kitchen

Telling the stories while sharing the recipes

  • George’s bubble & squeak

    I never knew my paternal granddad, if I did apparently I’d have had to call him George. His story is brave, romantic and inspiring and his influence on me and my sisters remains to this day.

    George, at the front with his guns out and a goose in North Africa circa 1943. I'm not sure how long the goose lasted.George, at the front with his guns out and a goose in North Africa circa 1943. I’m not sure how long the goose lasted.

    George was born in 1902 and served in the navy in the first world war.; it seems he may have lied about his age as his service record starts in 1916. This was all before he met my nan, Dolly, who was born 20 years later in 1922.

    My grandparents met in the 1930s, nan was a single mother (scandalous for the time) and George ran a dockers cafe on George Row in Bermondsey. The cafe, called George’s Dining Rooms, served the stevedores and locals and it was here where my nan started working to support her young family. Soon after starting work, they fell in love and married.

    They ran the cafe, and raised their family and shortly after marrying my mum had joined the family. By 1942, George was called up for war and served with the Desert Rats in the Africa campaign. My mum wrote her own account of George’s war for an archive project year’s ago. I recommend reading it, it details just how gruesome the campaign was and highlights George’s determination to rejoin his regiment after he was buried by rubble during one attack.

    The recipe below is adapted from the one I remember mum making. Speaking to her friends and my nan, bubble & squeak was a favourite at the cafe. I’ve updated the recipe, though not too much. Serves four. Ideally it should be made with leftovers, but it’s not a crime if you make it fresh.

    It’s simple, a classic and is one third of the culinary 3-B triumvirate: Bubble, Bacon and Brown sauce.

    Music to listen to while preparing this dish: ‘An American Trilogy’ by Elvis Presley

    Ingredients

    • Five large baking potatoes (one per person plus one extra, you’ll eat more than you think)
    • Olive oil
    • The same quantity of cooked greens. This can be cabbage, sprouts, peas, green beans, broccoli, broad beans, just avoid spinach and kale as their bitterness can ruin this.
    • Two large onions, sliced
    • Sea salt & pepper for seasoning
    • 25g lard (don’t be tempted with olive oil, veg oil etc, it’s not the same)

    Method

    1. Rub the potatoes with olive oil, put on a tray and sprinkle with salt and pepper. Roast them in a hot oven (190C) for about 90 minutes.
    2. Once cooked, spoon the flesh out into a large bowl and allow to cool. (Keep the skins for another dish or to munch on)
    3. Broadly slice the onions and sweat down with seasoning for five minutes in olive oil. Now put the olive oil away, you won’t be needing it any more.
    4. To the potatoes add your onions and your greens and mix together. You want the mix to have distinct shapes, don’t make a mash or a mush.
    5. Heat the lard over a medium heat (yes, it really has to be lard) in a heavy bottomed pan. You should have enough to comfortably cover the bottom of the pan with a generous layer of fat.
    6. Add the bubble mix and gently pat to fill the pan.
    7. Do not stir… just yet
    8. After three or four minutes you’ll hear the ‘squeak’. Turn the mix around to expose some of the browned/burnt bits from the bottom.
    9. Repeat above for around 20 minutes until the brown/burnt bits run through, but don’t dominate, the mix.
    10. Serve with bacon, brown sauce and a huge dollop of glee.
  • Frisée aux lardons for Salad haters

    This is a classic French salad for those of us who don’t like salad. It’s meaty, rich and decadent and is a celebration of bacon, eggs, bread and gluttony. And yes, it’s a salad… of sorts.

    IMG_4679
    Frisée aux Lardons – greedy size

    I first came across this on my study year in France – I went visiting some of my classmates in Lyon, the gastronomic capital of France and  came across this dish, as a starter in a traditional Bouchon – a Lyonnaise restaurant that specializes in sausages, duck and heavy dishes from the region.

    Being a student, being strapped for cash and being is a perpetual state of hang over, this dish was perfect recovery fodder.  As a slightly more responsible middle-aged man, it’s the perfect starter for dinner party as it can all be prepared in advance (even the poached eggs) and plated with minimal fuss, time or bother.

    The below feeds four as a starter or two gluttons for a main.

    Music to listen to while preparing this dish: ‘Mama’s Broken Heart’ by Miranda Lambert

    Ingredients

    Method

    1. Wash and dry off the frisée and divide equally between 4 shallow bowl plates
    2. Over a medium heat, fry off the lardons, rendering down the fat and till the bacon is crisp and browned.
    3. Tip on to kitchen roll to absorb all the excess fat and then scatter equally over the frisée.
    4. Bring a large pan of water to the boil with a tablespoon of salt and two tablespoons vinegar.
    5. Once boiling gently, create a mini-whirlpool and crack your first egg in and cook for 3-4 minutes until the white is set.
    6. Once cooked, remove with a slotted spoon and place on top of the lardon/lettuce combo. (If preparing in advance, place in iced water – to reheat just place back in boiling water for 30secs).
    7. Guests pop their yolk, pour over Claudie’s classic French vinaigrette and toss.

    Use the bread to mop up the rich and tangy eggy-vinaigrette combo

    Serve with a cool ‘n crisp Soave Pieropan to cut through all that richness

  • Updated: Brooklyn beet eggs

    In the previous version of this recipe I tried to use natural ingredients to get the pink hue… the results were ok, but didn’t pop. This updated recipe uses distilled white vinegar and neon food dye. The results pop…
    _____
    While with Erinn in Brooklyn, she took me to one of her local haunts – the Krupa Grocery where I had two food epiphanies: the shrimp burger and a dish called Chicken & Egg – chicken liver parfait, devilled egg and candied cocoa nibs.

    krup_eggs
    The Chicken & Egg from Krupa Grocery and is a great way to serve these eggs (there eggs are filled with chicken liver parfait and topped with cocoa nibs)

    The Chicken and Egg impressed me so much I went back for seconds. I love old school dishes brought up to date and made exceptional. The stand out element of this dish is the beet pickled egg.

    In the spirit of openness, I’ve had a bitch of a time getting the brine for this recipe right. Pickles are personal, some like vinegary, some like sweet. Me? I like it in between.

    The below, although simple, took several consultations with Erinn, several experimentations and a bloody age to get right for my taste… hence the odd measurements (thanks again to Erinn). So here goes, Brooklyn Beet Eggs.

    Music to listen to while preparing this dish: ‘Help me make it through the night‘ by Sammi Smith

    Ingredients

    • 12 large eggs
    • 600ml Distilled white vinegar
    • 15g tube Dr Oetker Extra Strong Pink Food Colouring Gel
    • Large handful of sea salt
    • Regular handful sugar

    Method

    1. Put your eggs in a pan – they should be cosy without too much space to rattle around.
    2. You have two choices – you can add the eggs to boiling for 7 minutes and then put in ice cold water or once they’ve reached a rolling boil remove from the heat and let sit for 12 mins. Once the time is up, put in ice cold water.
    3. In a pan add the vinegar, salt and sugar and warm gently till all the sugar and salt are dissolved.
    4. Add the food dye to the vinegar and whisk till dissolved,
    5. Shell your cooled eggs and put in a large jar and cover with the pickling liquor.
    6. Rotate the eggs every day to get even colouring on the outside. After a week you will have a light hue, after two a neon pop.

    For a great starter; halve an egg, scoop and discard the yolk and fill the cavity with parfait (your choice but duck, salmon and veggie all work). Then reassemble the egg and serve on a bed of lambs lettuce.

    Serve with another revelation/throwback thanks to Krupa – Lambrusco di Sorbara Radice Paltrinieri

    beets
    Not pretty to look at in the jar, but when I got the pickling liquor right, I chowed down on three eggs in one go
  • Mama’s coniglio in umido

    Silvia is my colleague, a me for Europe. Her refined elegance is a counterbalance to my awkwardness and her clarity sheds light in the chaos I often wreak. This recipe is her mother’s and translates as ‘rabbit stew’, the words are her own and the pictures are exquisite. Thank you Mama!

    IMG_5947
    Smile for the camera… Silvia and her mum

    Sweet and sour stewed rabbit – My mom’s way

    My mom comes from a wonderful and tough region of Italy, Sardinia.

    Sardinia smells of fennel and dried salt and tastes of hospitality and hostility. Sardinian people call the rest of Italy ‘the Continent’, they only belong to themselves.

    My mom comes from a small and forgotten village called Escalaplano, 2000 souls still live there and are proud of it. The region it belongs to is called ‘Barbagia’, barbarian and barbaric at the same time, notorious from the 1960s on for kidnappings. Banditry and pastoralism built the local economy. Cut ears made it famous when tourism was exploding.

    IMG_5950
    Enjoying the Sardinian summer

    My Sardinia is the sticky hands of my granny after making pasta, is the dark skin of my mom, is the wild taste of lamb, the sweet of artichokes. Sardinia is my sweet and sour soul, like the rabbit my mom still cooks following my granny’s recipe (and always wearing high heels).

    Scales are not part of our cooking tradition.

    Music to prepare this dish to: ‘You’re the one that I want’ by the Italian cast of Grease

    Ingredients

    • A jointed rabbit
    • Extra virgin olive oil
    • A clove of garlic
    • Half glass dry white wine
    • Half glass of white wine vinegar
    • 2 teaspoons of sugar
    • Green plump olives (in brine, drained)
    • A glass of chicken stock
    • Fresh parsley
    • Salt and pepper

    Method

    1. Pour some oil in your usual pan for stewed meat, brown the clove of garlic in it. When it’s dark, take it out and add the rabbit.
    2. Brown the rabbit for about ten minutes.
    3. Add half glass of white wine and reduce it.
    4. Dissolve the sugar in the vinegar and add to the rabbit.
    5. It’s olive time. Add them and go on cooking over a low flame.
    6. Add the stock and cook slowly until you reduce the sauce (half an hour, 45 minutes, 1 hour depending on the size of the pieces).
    7. Taste the sauce and add salt, sugar or vinegar if needed.
    8. Turn the pieces of rabbit over to check them from time to time. They should be browned but still tender.
    9. Shut off the burner and add a handful of fresh chopped parsley.

    Following Silvia’s suggestion of a young red wine, I went for Celler de Capçanes Vall Del Calas. Despite its age, it has a sprightly, youthful taste that goes well with the rabbit.

    Preparation in 3 pictures

    As Silvia has pointed out, measurements are not the way with this recipe. below are some pics from my preparation of this dish that will give you a feel for how much I felt was the right amount.

    The amount of rabbit

    This is what a whole jointed rabbit looks like… make sure your pan is big enough to hold it all. If you can’t find rabbit, you can use chicken thighs (skinned). I got mine from The Parson’s Nose.

    jointed
    One jointed rabbit from the Parson’s Nose

    The amount of olives

    I used pitted olives, and big ones from Spain. Here’s an indicator of the amount of olives and the size of pan you need. Mine was a little cramped. If you want to cook it for longer, at point 6 in the method you can transfer it to a slow cooker and really braise it for a few hours.

    finished
    Olives give it zing and the parsley at the end some freshness

    What to do with the left over white wine

    You only need a half glass of white wine for the recipe, so you’ll need to finish it off before serving time (when you’ll need a light red).

    table

    Easy, simple, effective and a real crowd pleaser…

  • Guard of honour for family and dogs

    Jarod and I have just spent a week in a cottage on a working farm in Cornwall (more on that in another post coming soon). Our daily routine was dotted with hungry chickens, nosy dogs (meet Bobby below), braying horses and some of the best fresh food this country has to offer. It would’ve been rude not to make the most of it.

    bobby
    Bobby, one of the dogs who benefitted from the bones…

    My family live down the road and I cooked this  lamb dish for them. It’s another one of those easy-to-prepare crowd pleasers that gets the requisite oohs and aahs.

    Slightly more pleasing was the deep-seated grunts of pleasure it got from all the dogs on the farm who skulked past looking for treats… if a dog does that, then you’ve gotta throw it a bone.

    Which we did…

    The below serves 5 humans and four dogs.

    Music to listen to while preparing this dish: ‘South Australia’ by The Fisherman’s Friends

    Ingredients

    • 2 French trimmed racks of lamb, with the skin scored (if buying from the butcher, keep the trimmings for the sauce… ideas underneath the lamb pictures below)
    • 1 small pack thyme
    • 1 small pack rosemary
    • Olive oil
    • Salt and pepper

    Method

    1. Heat the oven to 180C.
    2. Put aside one big sprig each of the rosemary and the thyme. In a bowl add the leaves of the rest of the herbs and mix with several good plugs of olive oil, mix robustly and let steep.
    3. Sear the racks of lamb in a hot pan, making sure the fat has been slightly rendered and the skin is caramelised and golden. This usually happens after 4-5 minutes.
    4. Once both racks are seared, arrange them in a roasting dish by interlacing the bones See the image below).
    5. Stuff the whole sprigs you put aside earlier in the cavity created by the interlaced ribs.
    6. Season the entire joint with salt and pepper and then pour over the herby olive oil mix.
    7. Start roasting.
    8. After 25 minutes, remove from the oven and cover with foil. Leave to rest for a full 20 minutes. This ensures the lamb is pink (see the second picture below).
    9. When the time is up, carve the meat (I carved in portion sizes of two – a rack is 7 chops so leaving a single chop per rack for the not-so-hungry).
    10. Serve with buttered new potatoes and greens.

    Oh, and save the bones for the dogs.

    Serve with Châteauneuf-du-Pape Vignoble Abeille 2011

    guard_honour_full
    The finished guard of honour, in all its glory.
    lamb_carved
    This is the colour you want the lamb to be and how it will look after following the above method.

    To make a sauce

    If you’ve kept the trimmings, this couldn’t be easier

    1. Put the trimmings in a big saucepan, cover with water, season and boil for 30 mins. Strain and put to one side.
    2. Put 250ml of red wine in a pan and reduce by half
    3. Add 250ml stock, a half onion and a sprig of thyme to the reduced wine, bring to a simmer and reduce by half.
    4. Remove the onion and herbs, lower the heat and add a knob of butter.
    5. Once the liquid is glossy it’s ready to decant to a jug and serve with the lamb.
  • Ashley’s beef stew with smoked oysters

    This really should be called Ashley’s anxious beef stew with smoked oysters. While I love quick to prepare, slow-cooked one-pot meals, the fact that you often have to leave the house while they are cooking fills with dread (what if it burns, what if it catches fire, what if I raze the house to the ground?). That’s why this one cooks overnight.

    Taken Christmas 2013 in a small appartment in Paris after a particularly hard winter. Mum had died in October and my other half took me to Paris, my second home, to relax.Taken Christmas 2013 in a small apartment in Paris after a particularly hard winter. Mum had died in October and my then other half took me to Paris, my second home, to relax.

    I live in a small flat, my kitchen is in my living room, the sink elsewhere, and I have no dining table. This dish is the perfect solution when I want to throw dinner for four or five people. The washing up is done a day before hand, it has one dish that people can eat from their laps.

    The oysters here are really the star. As well as adding a smokiness, they add an almost metallic tang that helps cut through the richness of the stew. If you have a guest who is allergic to shellfish, just remove them (the oysters, not your guest), the dish stands alone without them.

    Music to prepare this dish to: ‘Justified and Ancient’ by The KLF

    Ingredients

    • 2kg ox cheeks cut in to large chunks
    • 15 cloves of garlic peeled (yes, 15)
    • 10 shallots, peeled, topped and tailed
    • 4 large sprigs of rosemary
    • 2 bay leaves
    • 2 bottles of full bodied red wine
    • 1 85g can of smoked oysters (preferably in oil)
    • Salt & pepper
    • Vegetable oil for frying

    Method

    1. Heat your oven to 140c.
    2. You need a dish that works for hob and the oven. In the dish fry the chunks of ox cheek. Season them well and ensure you get a good colour on them. Don’t fry the meat off all at the same time, it needs space to brown off.
    3. Once the meat is done, set to one side and in the pan fry off the shallots and garlic for ten minutes over a low heat, again season but not too much. You want them to sweat not brown.
    4. Add the meat back to the pan and mix the meat with the onions and garlic. Add the rosemary, and bay leaves (make sure they are evenly distributed) and then pour over the wine. Keep a quarter bottle behind in case you need to loosen the stew later.
    5. Bring the pan to the boil, remove from the heat and cover with a tight fitting lid (you can use double layers of foil if you’ve got no lid).
    6. Place in your oven and cook for 8 hours (overnight is always best).
    7. Half an hour before cooking time is up drain your oysters and stir through the stew. How many you add is up to you. These can be quite strong so use your judgment.
    8. This is the time to check the thickness of your stew – loosen with wine if you need to. If it doesn’t need loosening it, drink it.
    9. 30 minutes after adding the oyster, you’re ready. Either serve straight from the pan with toasted, crunchy bread or leave till you come home from work and reheat it slowly.
  • Erinn’s Bánh mì (pork roll)

    Erinn and I, as many do, met over a chance encounter in a pub, off Kensington Gardens. Three hours, four meals, five bottles of wine and two confused dogs later we bonded. We’ve been friends ever since.

    erinn_me

    A lot’s changed since then; lovers and husbands come and ago, dogs grow old and sadly people move. I moved down the road, Erinn moved to Park Slope in Brooklyn where she single-handedly renovated a beautiful town house to keep its original features yet bring it bang up to date.

    Interior design is just one of her talents; we often use the word ‘Renaissance’ with ‘Man’ which does a great disservice to all women. Erinn is a writer, a philosopher, a great lover of music (all kinds, no discrimination) and a great foodie. During my week with her in Brooklyn I ate and drank like a lord… and like the Renaissance Man I pretend to be, I topped off my self-indulgence by smoking like a chimney.

    Erinn whipped up the below (a glorious sandwich) in a few hours, the memory of eating it will stay with me forever. The below could serve four, but in truth two.

    Music to listen to while preparing this dish: I’ll Be Here In The Morning by Townes Van Zandt (another great revelation from Erinn)

    Ingredients

    • 1lb of pork tenderloin. Sliced thinly
    • 2 cloves crushed garlic
    • 2 tablespoons fish sauce
    • 2 teaspoons real maple syrup
    • 2 tablespoons low salt soy sauce
    • 2 tablespoons mirin
    • 1 tablespoon fresh ground black pepper.
    • 2 tablespoons finely chopped shallots or onion
    • 3 tablespoons sesame seed oil
    • Smooth pork pâté
    • Pickled carrot
    • Pickled daikon (white radish)
    • Fresh coriander
    • A crusty roll

    Method

    1. Add the garlic, fish source, maple syrup, soy sauce, mirin, black pepper, onion, and sesame oil in a big watertight bag and mix well.
    2. Add in the pork, mix round and leave to marinate for a few hours (no more than that).
    3. When you are ready to eat, prepare your rolls and your first job in their preparation is to butter them. Liberally.
    4. Spread a generous layer of pâté on one side. The key word here is generous.
    5. Now get your pan hot… you want the meat to caramelise. Once it’s hot, add the pro and get it nice and sticky.
    6. Once cooked divide the meat between the buns, and top with the fresh coriander and pickles to your preference.

    Serve with a Brooklyn East IPA

  • Henri’s goats cheese & onion frittata

    I met Henri when she was dating her then boyfriend, and now husband, Sam (creator of the Turkish fish stew). Henri made a huge impact on me – she’s not loud, she’s not over-the-top but she is engaging and interested in everyone. I see this in Henri’s work; she is a talented artist who doesn’t restrict herself to one medium – she works in two-dimensions but creates landscapes which you feel you can walk into and explore.

    henri_2

    Browse her website for a feel for who she is and the depth of her talent, you won’t be disappointed.

    Henri didn’t give me this recipe, Sam did. I was meeting Henri for the first time and needed a dairy free vegetarian recipe and this is the one that appealed to me the most. It uses basic ingredients in slightly ingenious ways to create something extraordinary. It has depth, it doesn’t leave you hungry and also keeps well should you have any left-overs (which you won’t).

    This frittata serves 4 to 6 people.

    Music to prepare this dish to: ‘Better’ by Tom Baxter

    Ingredients

    • 5 Large Spanish onions
    • 8 eggs
    • 2 large rounds of goats cheese (or two small batons of goats cheese sliced into rounds)
    • 8 Cloves of garlic
    • A large handful of fresh sage, chopped (leaves and stalks – don’t be shy)
    • Olive oil
    • Salt and pepper

    Method

    1. Chop the onions into broad slices (no elegance required).
    2. Roughly chop the garlic.
    3. Pour a very generous glug of the oil into a heavy-bottomed pan and warm up over a medium-high heat. Add your onions, garlic and sage (keep some for garnish).
    4. Toss this mix till everything is coated in oil. Do not add the salt and pepper yet, we want onions to turn into a sweetened mulch. You’ll season later.
    5. Turn the heat right down, cover with a lid and cook slowly for at least an hour, turning every now and then. What you want is a dark, syrupy mulch. The onions will still have shape and form, you just need to check every now and then to ensure they aren’t burning/sticking to the pan.
    6. Beat the eggs and add generous amounts of salt and pepper to the liquid. You’ll need a fair bit, there’s a lot of onion in there.
    7. Have your goats cheese ready
    8. In a flan dish or shallow lasagne dish add a good covering of olive oil and put into a preheated oven (190C) for at least 15 mins. Try and time the cooking of the onions and the end of this quarter of an hour to coincide. It’s no biggie if you can’t.
    9. Take your dish out and pour in the beaten eggs. Immediately add your cooked onions, spreading evenly, and on top lay your pieces of goats cheese.
    10. Garnish with the sage you kept aside
    11. Return the dish to the oven and cook for about 15 minutes on a medium heat (160C).
    12. When done, the eggs have risen and the goats’ cheese has half-melted and has started to brown.

    Serve with a simple lamb’s lettuce salad, dressed with Claudie’s vinaigrette and crusty bread.

    All the recipes that Sam and I swapped at this time are on h2g2.com
  • M de Lambert’s rabbit with wild mushroom tagliatelle

    M de Lambert is a small, quiet but imposing man, watching out for those under his roof, providing advice and a dirty joke or two when the situation needed. While I can’t remember any of the jokes, I can remember laughing so hard I almost prolapsed.

    Patricia, Liz, M de Lambert, Kate and Harriet... pre-party photo opp
    Patricia, Liz, M de Lambert, Kate and Harriet… pre-party photo opp

    He played a small but significant role in my year abroad in Avignon. My besties Harriet and Kate had just ‘escaped’ from some terrible social housing to rent rooms in M de Lambert’s palatial duplex, complete with pool table, in the heart of Avignon.

    Why did he play a big role?

    He let the girls throw parties when they wanted; and they threw parties, many, many parties. The most memorable ending with the arrival of firemen who stayed to party with us.

    M de Lambert let all this pass with a discreet, yet pronounced, Gallic shrug.

    M de Lambert gave me this recipe when he overheard my panic… While staying with Claudie (she of the vinaigrette fame), it was my turn to cook on the Thursday night which I always spent with the family. I wanted to prepare a  dish with local ingredients and one they wouldn’t expect – remember Britain at this point had a terrible reputation for food – I had something to prove.

    Rabbit is not a popular meat, and you can swap it out for chicken, but do give it a go. If it’s your firstly, get farmed rabbit, it’s much more tender than wild.

    So thank you M de Lambert, for the house that help shape friendships that have lasted over 20 years.

    Christmas party time at M de Lambert's. Avignon 1993

    Music to prepare this dish to: ‘Sit Down’ by James

    Ingredients

    • 25g dried wild mushrooms
    • 3 large portobello mushrooms, sliced lengthways
    • 1 clove garlic crushed
    • 350g fresh tagliatelle (fresh for no other reason than convenience and quick cooking time)
    • 150g mascarpone cheese
    • 400g rabbit fillet lightly flattened (usually four pieces) (If your butcher is willing get leg fillets)
    • Leaves from 3 sprigs of fresh time and leaves from one more for garnish
    • Salt and lots of black pepper
    • Lots of  grated Parmesan cheese

    Method

    1. Soak the dried mushrooms in a large mug of boiled water for 30 mins.
    2. While these are soaking, pan fry the sliced portobello mushrooms and get a good colour on them. Do not use a lot of oil and do not shake/move too much around the pan. This will help keep them firm and golden, not beige and flaccid.
    3. Remove from pan and place to one side on a flat plate.
    4. Strain your soaked mushrooms (keep the liquor) and chop into small pieces.
    5. In your pan, fry off the garlic. Do it gently for about three minutes. If the garlic has caught, start again. Burnt garlic is bitter and rabbit is a delicate meat.
    6. Once sweated down, add your mushrooms, all of them, into the pan with a good 1/2 tablespoon black pepper and a good sprinkle of salt. Add the mushroom liquor and cook gent gently for 10 mins
    7. During this time, put a large pan of salted water on the go for your pasta.
    8. Back to your mushrooms… after 10 mins the liquid should have reduced by half. On a low heat, add your mascarpone cheese and heat and mix through. Once mixed, turn off the heat but keep the pan to hand.
    9. In another pan, heat a good plug of oil and once hot, start frying your rabbit. Season well and add the thyme leaves after the first turn. These should take no more than three mins either side. Once cooked, leave to rest for the three minutes the below takes to do.
    10. This is when you chuck in your fresh pasta – it should take no more than three minutes.
    11. Once the pasta is cooked, add a tablespoon of the pasta water to the mushroom mix.
    12. Strain the pasta and add it to the mushroom sauce. You should have a good solid coating over all the pasta. If you’re fussy about your pasta-sauce ratio then add the pasta in a it at at time till you get your preferred ‘wetness’. If it’s looking a little dry, you can add a splash of olive oil while eating.
    13. Plate the pasta, and rest one of the fillets on top of it.
    14. Sprinkle each serving with the left over thyme.

    Serve with parmesan for those that want it and a crisp Vouvray Sec for everyone.

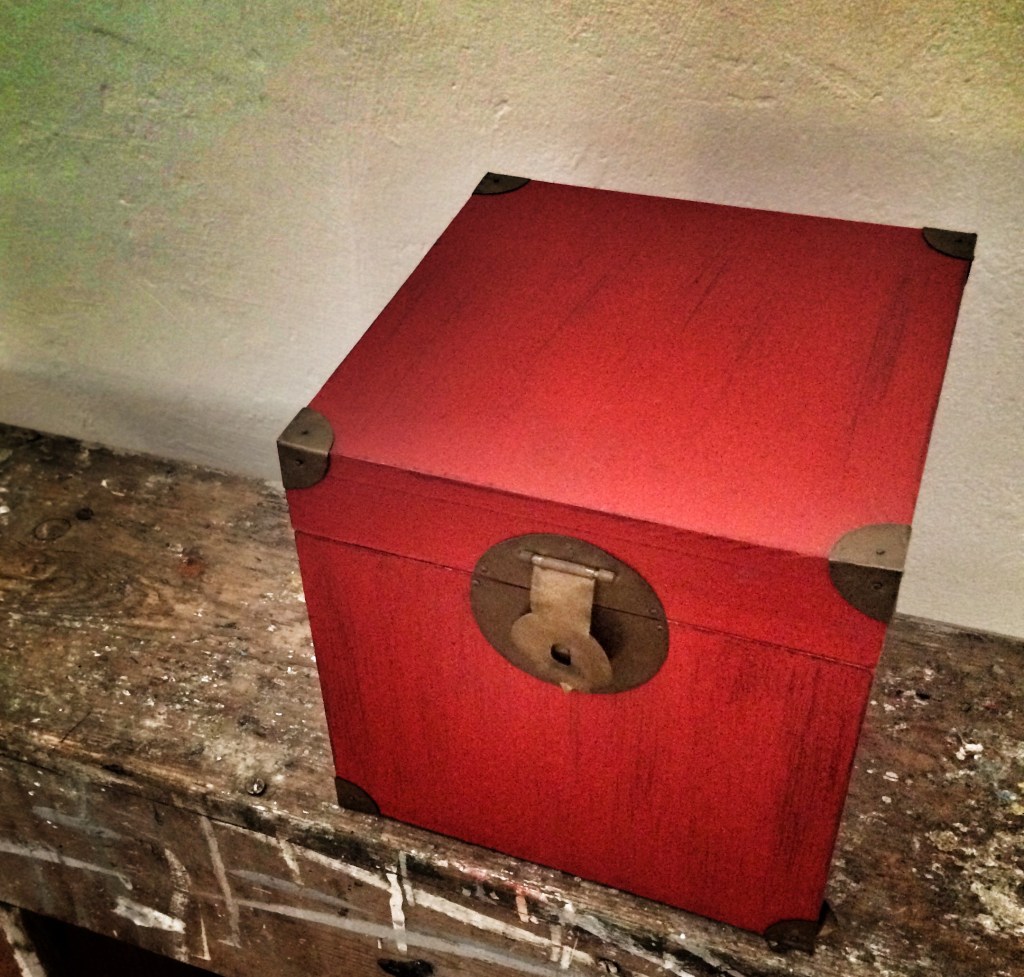
  • Red box roast chicken

    This recipe took 20 years to come together from several friends and one ex-lover. It doesn’t take that amount of time or effort to pull together, I promise.

    The red box that started all this...

    The origins for this recipe starts with this red box. I met Andreas back in the mid 1990s. An ex-boyfriend and now friend, Andreas is a lecturer, aesthete, photographer and poet. Have a look at his site picpoet.net; it combines all his talents in one place and leaves you thirsting for more. Andreas used to write me poetry and leave me notes to find while he was out.

    On one of his trips he went home to Greece and brought back this box, filled with dried herbs local to his region. One of these was the Greek classic oregano. Until this point, I’d never come across it, never used it and never realised how much it can transform a simple, classic dish like roast chicken.

    What sets this dish apart is its skin. I grew up in house where chicken skin was hit or miss; when it worked, mum’s was the best – crunchy, sticky and morish. When it was bad, it was flabby, oily and usually fed to the dog. The skin part of this dish is thanks to my university friend Natalie whose mum taught her the simple trick you’re going to find here. Try it once and you will never try another way.

    The chicken in its glory, crispy skin and all the gubbins

    Nat and I studied together in Liverpool and shared a house in our final year. Like most students we got little done but had a great time doing it. It was a huge house, on the borders of Toxteth and we shared with Ana (who married Nat’s brother) and an Italian girl called Alessandra. The others who shared that house is a blur – we drank a lot, smoked a lot, partied hard and when we remembered, we studied.

    I still smile at the first time I saw Natalie, in our first year when she walked into the seminar with her curly red hair bouncing over a fake fur coat. For a country boy like me, she was the epitome of glam. It’s this image of Nat I hold dear to this day.

    The last part of this dish, and for me what really rounds it off are the olives. This addition is a relatively new one and comes thank to Mishi, a dear friend who I met a few years back on a drunken night out with my other half. In a very short time, this short, blonde, cutting edge powerhouse has become a fundamental part of my life. In this time we’ve partied on beaches in Thailand, stayed up all night dancing in the privacy of my living room and cooked up a storm in the kitchen.

    Mishi is a chef, and brings her love of life directly into her food and it’s this that earns my love (it’s always about food). On one of her jobs she travelled to Greece and brought back some real Kalamata olives, from Kalamata (who knew?) and it’s their meaty bitterness that makes this dish a smasher.

    This is a simple, great dish, 20 years in the making, two hours in the making and about two minutes in the devouring. I hope you have as much fun eating it as I’ve had in pulling it together.

    Enjoy

    Music to prepare this dish to: ‘The stars line up’ by Marianne Faithfull

    Ingredients

    • One large chicken
    • Dijon mustard (don’t use English or wholegrain)
    • One small fresh bunch of Oregano, four stalks should do it
    • 75g pitted kalamata olives (in oil or vacuum packed, don’t be tempted by the canned insipid black olives as they add nothing except a rubbery chew)
    • 1 large lemon
    • 500ml chicken stock
    • A generous knob of butter
    • Coarse sea salt & pepper

    Method

    1. Pre-heat the oven to 180C (fan).
    2. Coat the chicken in the mustard and really slather it on and make sure it’s well covered. The flavour will get cooked off so don’t worry about that, but just make sure you do cover it well; if it looks like a lot, then that’s the right amount.
    3. Place in a heavy-bottomed but not high-side roasting tin and season with salt and pepper.
    4. Roast for 1hr 45mins to 2 hours depending on the weight of the chook.
    5. While it’s roasting pick all the leaves off the oregano but don’t chop them.
    6. Once the chicken is done remove it from the oven and put it on a large serving platter (this is the dish you’ll serve it on) and leave it to rest while you make the gravy.
    7. Put your roasting tin over a low heat and add the stock. Don’t add all of it – give yourself some leeway as there’s nothing worse than runny/gloopy gravy. I usually add three quarters and build up from there.
    8. As the stock is heating, scrape all the good bits off the bottom and reduce till you get to your preferred consistency.
    9. Add the butter and stir through till your sauce goes lovely and glossy. Once it is, decant into a jug.
    10. Now cut your chicken on the platter. Don’t carve it, use scissors to cut the legs and wings off, then cut the two breasts off, then halve those with the scissors and pile on to your serving platter.
    11. Scatter the olives over the carved chicken, then your freshly plucked oregano. Add the grated zest of the lemon if you want to.
    12. At this point pour the gravy over the chicken and squeeze the lemon over the top
    13. All you need to do is serve and for that you’ll need a spoon to get the gravy from the platter to your plate.